Harvesting SNAP Data with Cloud9 and MongoDB (Part 1)
Overview
In my last post, I discussed SNAP data. In this post, we will cover the process of harvesting USDA SNAP CSV data. We will store data in MongoDB and augment it to support fast geo queries. These geo queries will be used to locate nearby SNAP stores from a particular location.
We will exploit two Cloud-hosted services to reduce the amount of effort it takes to create an environment for working with the data. For our purposes, the free plan of both services will be adequate.
-
Cloud9 is a Cloud-hosted IDE. We will use the shell environment it provides to perform the tasks necessary to download SNAP data and import it into a mongo database.
-
MongoLab provides a Cloud-hosted MongoDB service. We will use it to import and serve SNAP data to support our queries.
Cloud9
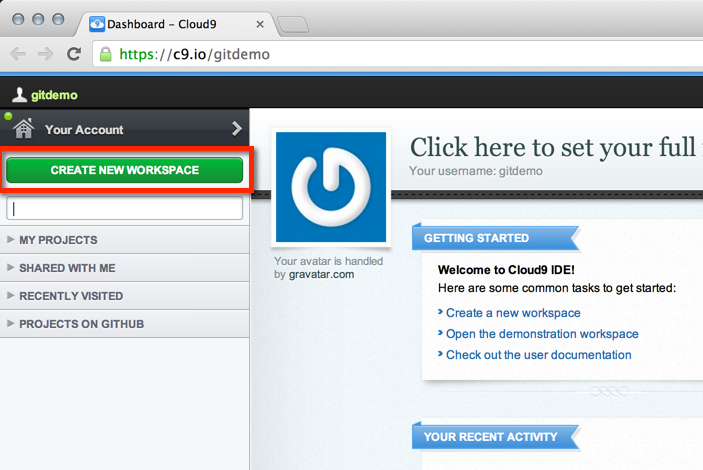
Go to Cloud9 and sign up using your GitHub account.
Create a new workspace
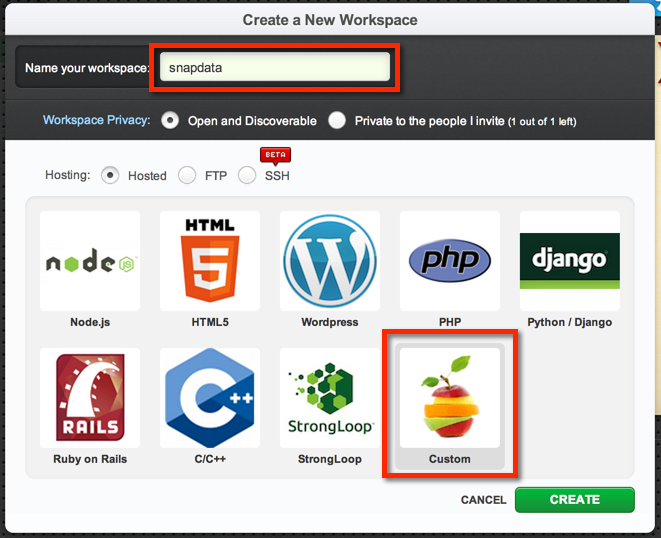
Name your new workspace
Call it “snapdb” and select the “Custom” option (which gives you a barebones workspace with just a README.md file). Cloud9 will take a moment while it provisions your new cloud-hosted development workspace.
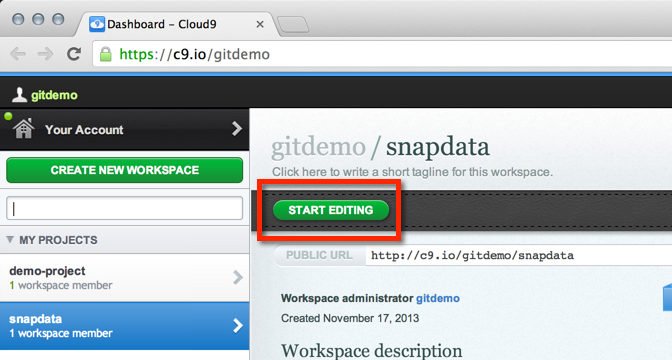
Open your new workspace
Click the “Start Editing” button. Your workspace will open in a new window (or tab) and initialize.
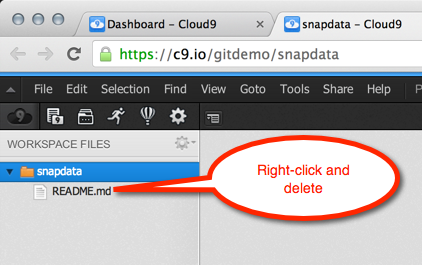
Prepare your workspace
Right-click on README.md and choose “Delete” from the context menu to get rid of it.
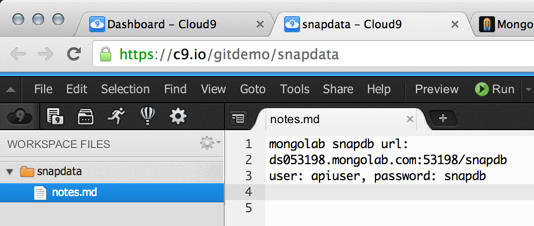
Right-click on the snapdata workspace folder and create a new file. Call it “notes.md”. Double-click to open the file. We’ll use the file to save notes about our mongo database that we’ll create in the next step.
MongoLab
Create a new database
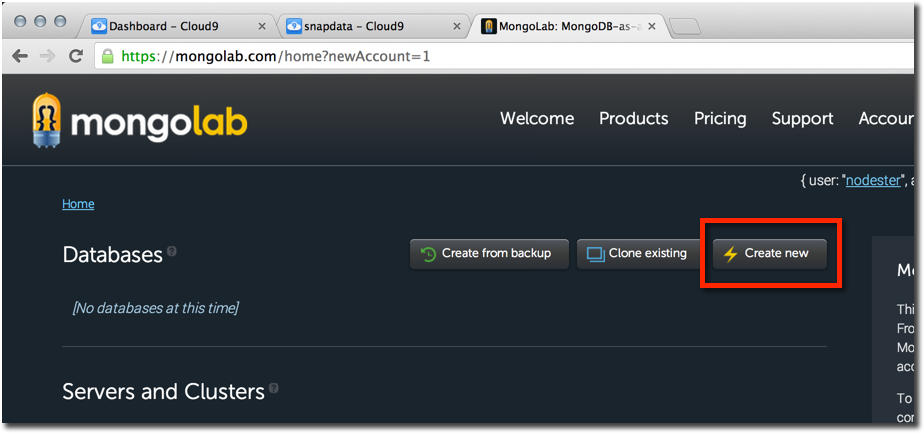
Go to MongoLab and sign up for an account. Once you’re signed in, create a new database.
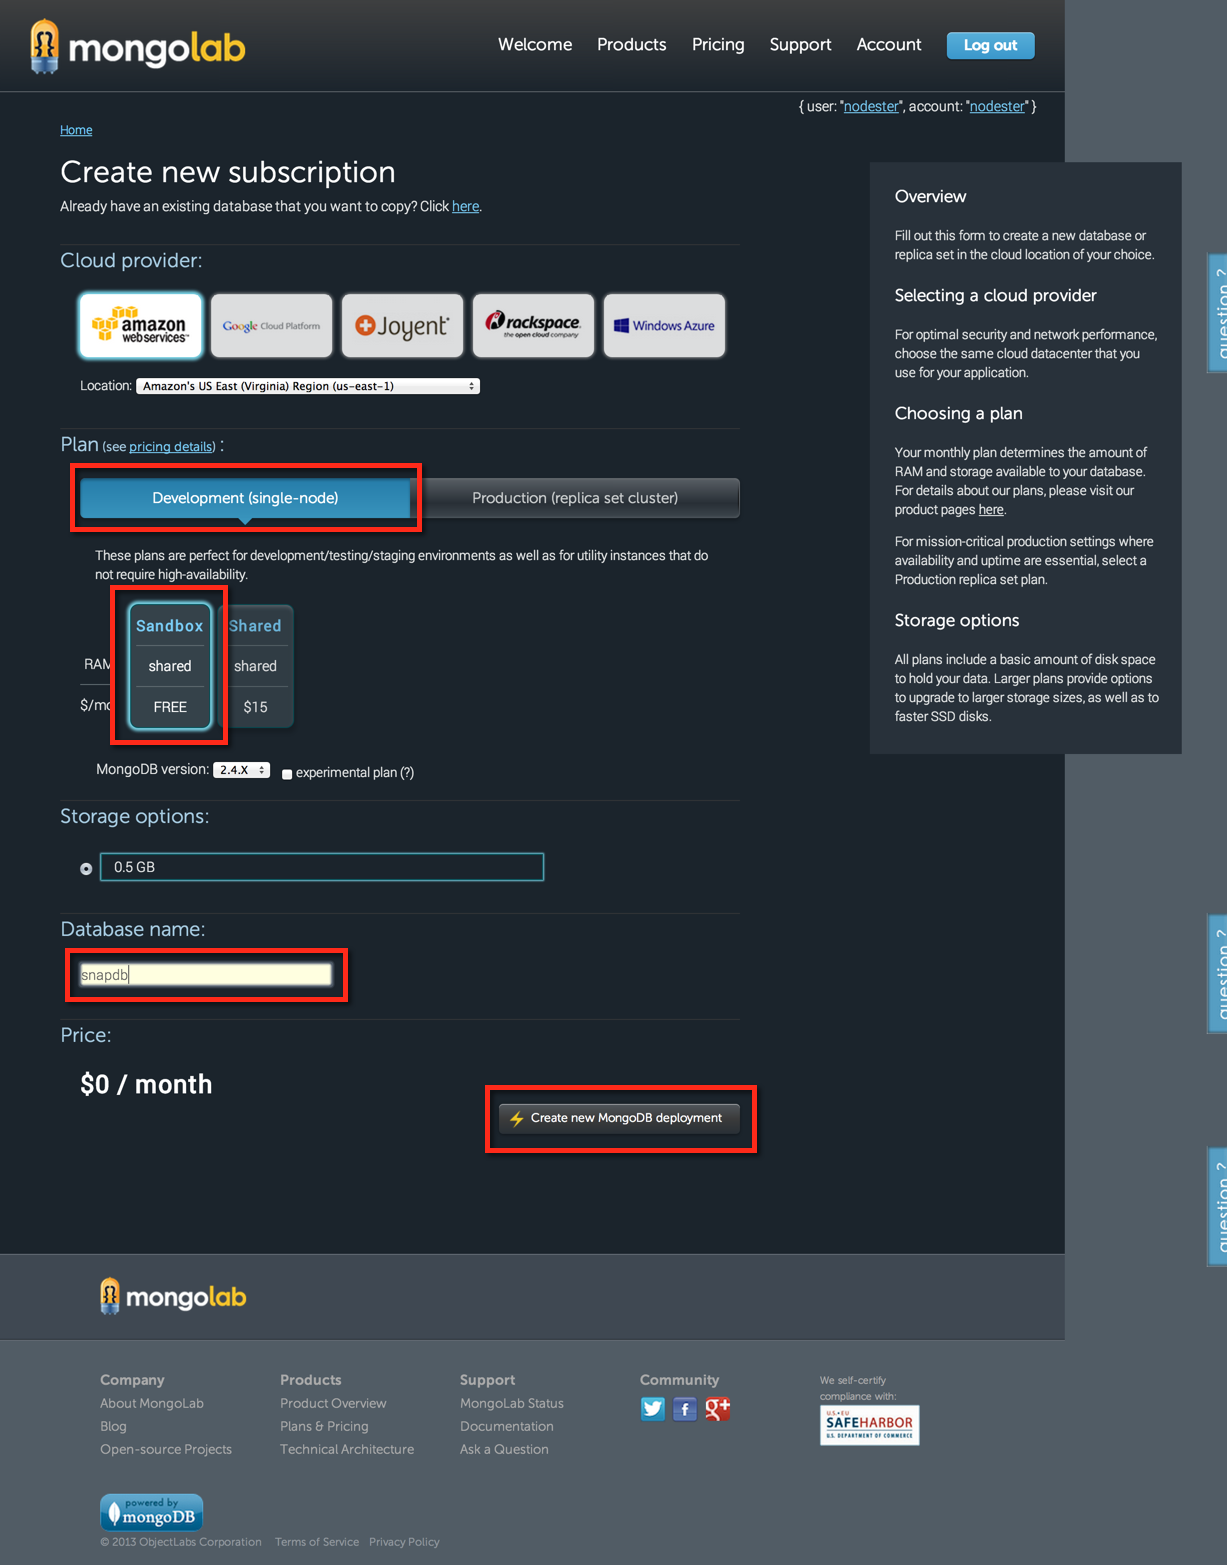
Create a new database - configuration options
Choose a free sandbox database on Amazon; name it “snapdb”.
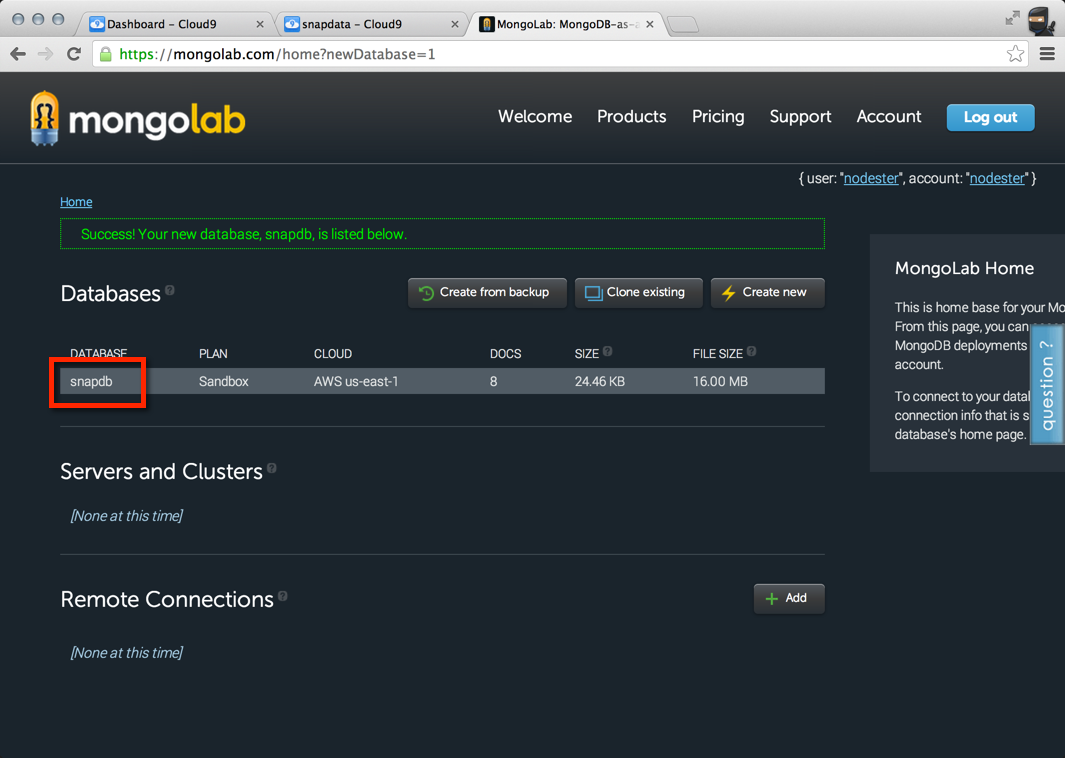
Open the database page
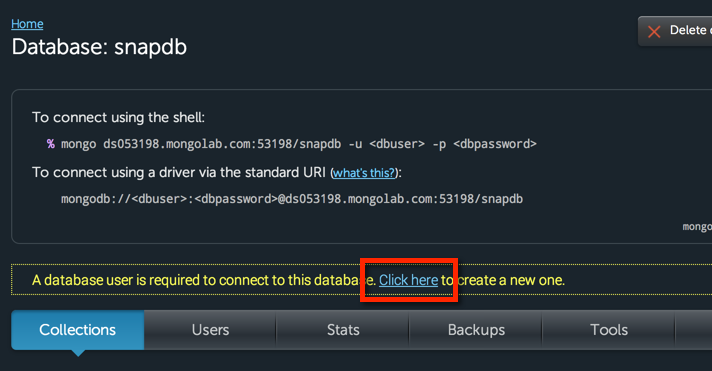
Add a database user
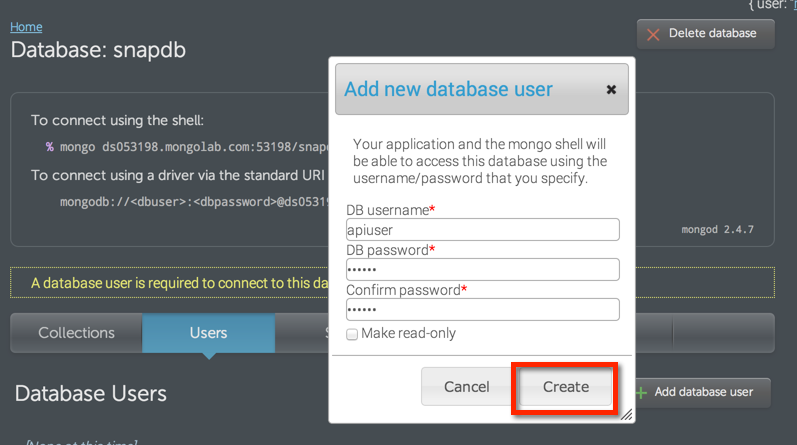
To access the database from a client, we need to create a database user. The database user credentials will be used when connecting to snapdb. Click the link that says “Click here”.
Set database user credentials
Choose “apiuser” for the username and “snapdb” for the password.
Save the database information
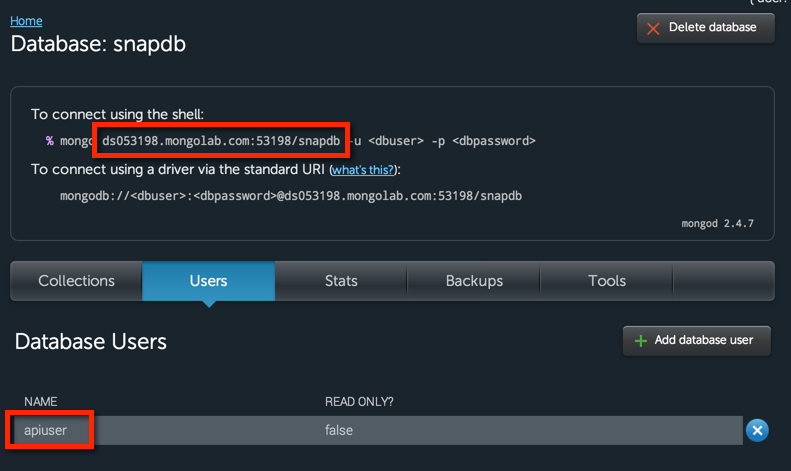
You’re done with database creation. Save the connection information and database credentials in your Cloud9 notes.
Next steps
We now have everything in place to get SNAP data and loaded into a mongo database. In our next post, we’ll walk through the steps of downloading, importing, transforming, and querying SNAP data interactively from the Cloud9 shell.